How to Put Antifreeze in Your RV

As the mercury needle inches closer to the zero-degree mark, it’s time to start thinking about winterizing your rig! There are several steps involved in the winterization process (which we’ve outlined for you here), but today we’re focusing on the important task of clearing your plumbing lines to prepare them for the addition of RV antifreeze. An unexpected subzero night could wreak havoc on an RV that still has water in the plumbing lines, leading to costly repairs. The team at South Thompson RV is here to help you protect your big investment by getting a head start on this important winterization step!
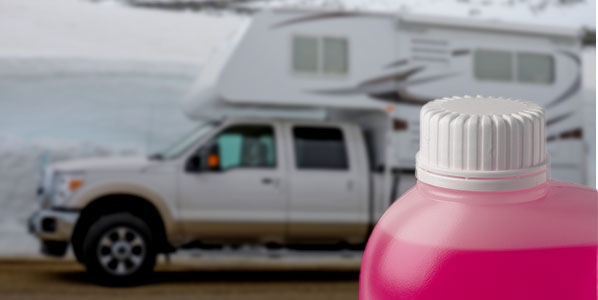
It’s Time to Embrace the Pink Stuff!
You’ve probably heard the phrase “use the pink stuff” in the RV-world before. That’s because RV antifreeze is very different from the type of antifreeze you use in a car, and can be distinguished by its bright pink colour. It is vital to not confuse the two types of antifreeze. Pink RV antifreeze is non-toxic, eco-safe and suitable for use in your RV plumbing system. Automotive antifreeze is designed for vehicle engines, and is very toxic to humans and the environment. You can typically buy pink RV antifreeze at any RV dealership (like South Thompson!) or your local hardware store - simply ask for help if you’re not sure about which antifreeze to purchase, and remember to always “think pink!”
Why does your RV need antifreeze? Even after you drain and dry your plumbing lines, tiny droplets of moisture can remain in the tubes and pipes. If any of that water freezes, it can lead to major issues, and big repairs, down the road. Using RV antifreeze to prep your unit for winter storage protects your plumbing lines from freezing, helping to keep your rig in great shape for years to come.
Simple Steps for Adding RV Antifreeze to Your Plumbing System
So you’re ready to take on this RV winterization project yourself - but where do you start? Although we highly recommend following your specific RV’s manual for best results, there are a few steps that you can expect to be pretty standard. We asked Gord over in our Service Department to put together a simple outline to help our customers understand what an RV antifreeze DIY project will typically entail:
1. You’ll need to flush and drain your entire plumbing system. This means emptying the tanks under your rig, opening all faucets to allow the hoses to drain, and giving the toilet several flushes until all of the water is gone. You might opt for an air compressor at this stage to purge the lines of moisture as much as possible.
2. Close your faucets and drain valves, and replace all of the caps on your water tanks.
3. Next, it’s time to fill your water tank with pink antifreeze! There are several ways to do this, including using a hand pump or a water pump conversion kit. Whatever method you choose, the idea is to have your water pump eventually pull the pink antifreeze through your plumbing system once it’s turned on. The amount of antifreeze you'll need will depend on your specific unit, so be sure to consult your manual during this step.
4. Speaking of which - it’s time to turn your plumbing system on! Start by turning on your kitchen faucets (one at a time, preferably hot then cold), then your bathroom faucets, shower, toilet and outdoor shower. You’ll be looking for the pink stuff to be running through each and every system. You’ll also need to pour some antifreeze into any drains that use water, like your ice maker, dishwasher, shower and toilets.
5. Close everything back up, and that’s it - you’ve done it! Your plumbing system has effectively been flooded with antifreeze, and is ready for winter storage.
6. Bonus step: although it should easily wipe clean, some folks like to scrub any white surfaces to prevent the pink antifreeze from staining - particularly in the shower and toilets.
Not Feeling Very DIY This Winter? South Thompson Can Help!
We get it - it’s been a tough year. Maybe it’s even been one of those years where you simply throw your hands up and say “I just need somebody to help me.” Don’t worry, the South Thompson RV team is with you every step of the way. We offer a full suite of winterization services right here at our South Thompson RV dealership in Kamloops, BC, and our team will have your unit prepped for winter storage quicker than Arnold can say “everybody freeze!” Put your feet up while we take care of the dirty work, and trust that you and your rig are in good hands with Gord and the crew in our Service Department.
Still have questions about RV antifreeze? Don’t hesitate to give us a call! We’re happy to answer your questions about antifreeze, and any other RV winterization services you may need.